iOS 7 is the latest version of Apple’s iOS mobile operating system. It was first announced at WWDC on June 10, 2013. iOS 7 introduces great new features like Control Center, Air Drop for iOS, smarter multitasking and lots more. It also makes the things easier, faster, and more enjoyable.
Here are the best hidden features of iOS 7:
64 bit support
iOS apps can now be compiled for the 64-bit runtime. All system libraries and frameworks are 64-bit ready, meaning that they can be used in both 32-bit and 64-bit apps. When compiled for the 64-bit runtime, apps will run faster because of the availability of extra processor resources in 64-bit mode.
iOS uses the same LP64 model that is used by OS X and other 64-bit UNIX systems, which means fewer problems when porting code.
Better Multi-Tasking
Smarter API is one of the major feature of iOS 7. This new multitasking APIs has the ability to perform app updates in the background at convenient time. Now, when you double-click the home button, all apps appear as big screens. The last app you were in is now front-and-center so swapping between apps is lightning fast. Better yet, closing apps that are not working well now just requires a swipe of the finger up.

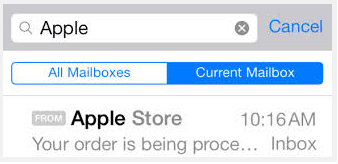
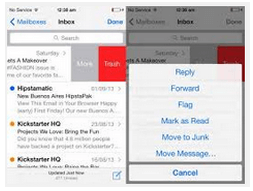
Email Enhancements
In iOS 7, it is very easy to find emails. You just need to know the persons email ID, name or a keyword and the Mail app will search the email for you. Also You can send an email from inbox to the junk folder in a single click. Just tap the flag in the bottom right corner of the email and choose “move to junk”.
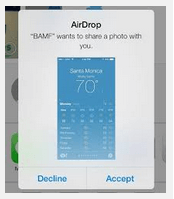
AirDrop
AirDrop technology simplifies data sharing between users of different devices nearby. Data is transferred directly, not via emails, cloud services and alike.
Junk Email
Now you can send an email from your inbox right to the junk folder. Just tap the flag in the bottom right corner of the email and choose “move to junk”.
Save Money By Using Face Time Audio Calls
iOS 7 adds the ability to have audio only calls using FaceTime Audio. Now, you can make a call over 4G or Wi-Fi without the video component, and the sound quality is fabulous. Just go to the desired contact and press on the phone symbol next to FaceTime. Alternatively, you can search for your contact in the FaceTime app itself.

Looking to make your mobile application dreams come true? Contact us today to make it a reality.
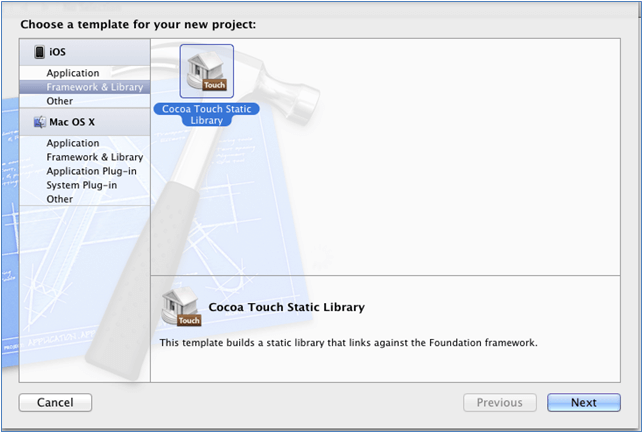
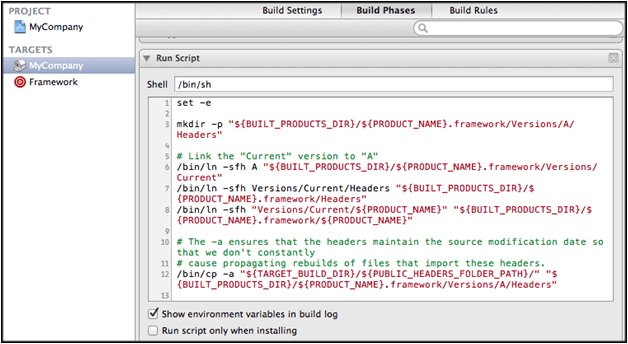
Recommended Reading: How to make Static Framework iOS device independent?